


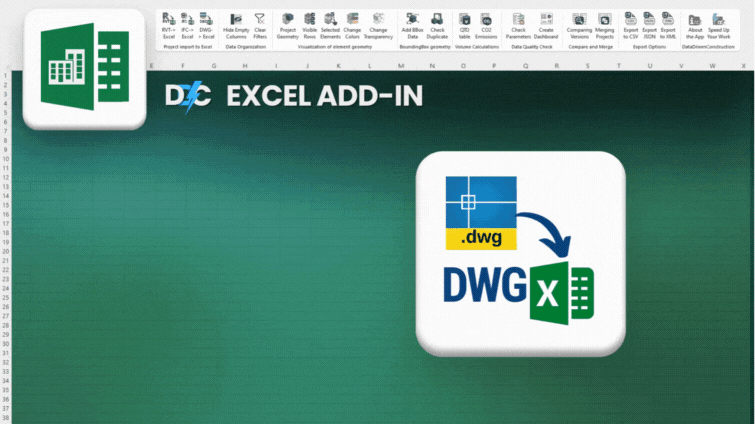
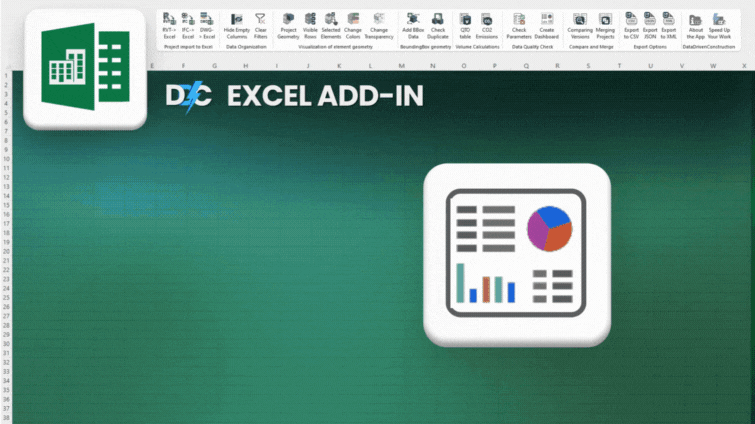
DDC Excel plugin
The DDC Excel plugin offers users a seamless solution to open, access, and process various file formats directly in Excel, eliminating the need to install CAD (BIM) software on their computer. The DataDrivenConstruction plug-in simplifies the extraction and manipulation of data from CAD (BIM) files, providing users with a familiar and efficient working environment.
Requirements:
◾️ Windows 10 64bit or Windows 11
◾️ Microsoft Office for Windows (2013 or Later) or MS Office 365


agree to the terms and conditions
Version 2024.9.1 released on 15.07.2024
no ads after the conversion process


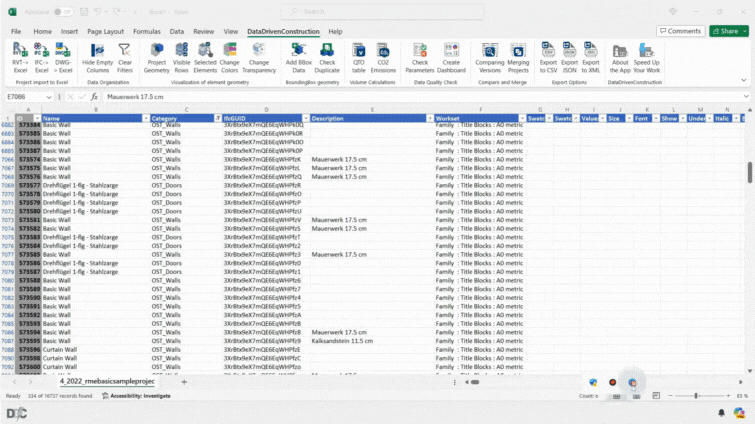
CAD (BIM) Data in Excel: Revit, IFC, DWG. Unleash the power of your CAD (BIM) data

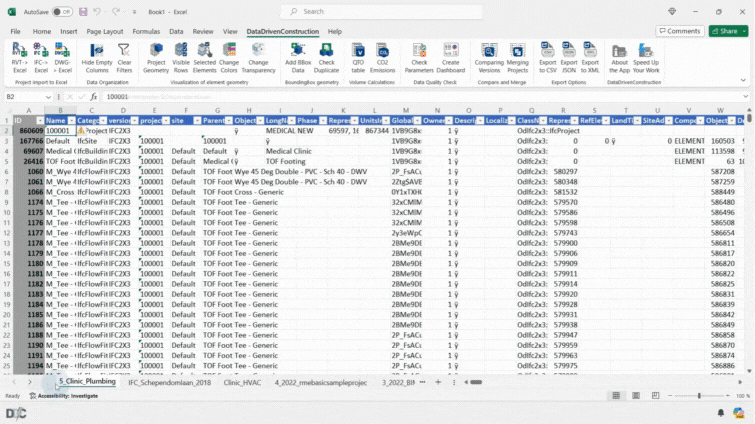
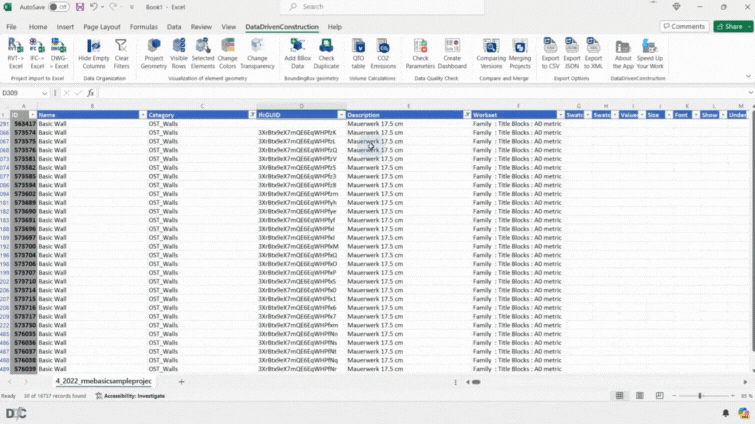
To extract data from a DWG format, select a file of any version on your computer, and the converter will translate all the data from the drawing into a structured format. This will include all drawing elements with their properties, including their position through coordinates on the drawing.
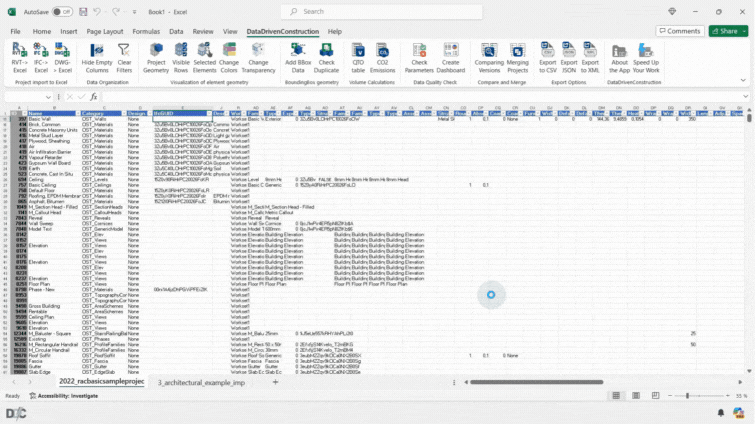
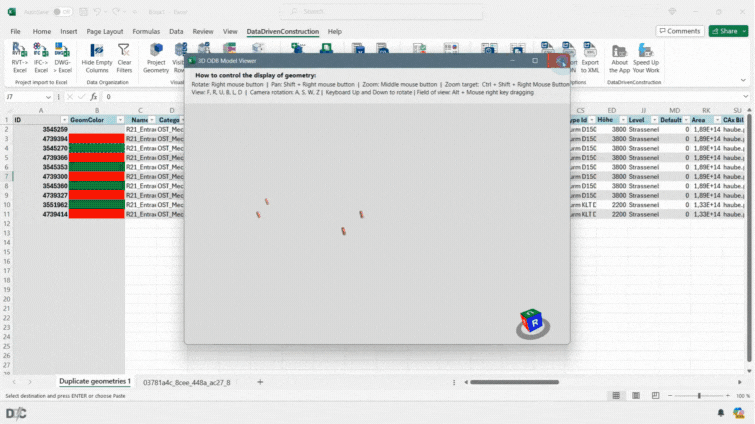
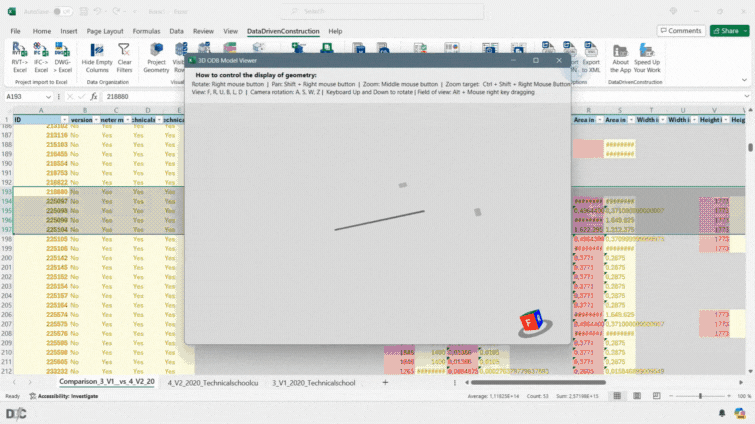
The "Project Geometry" button, active for Revit and IFC projects, displays the geometry of the entire project currently open on the active sheet. Any number of CAD (BIM) projects can be loaded into one Excel document, each of which is displayed in a separate sheet. By navigating to a project sheet, you can view Revit and IFC project geometry together in a single document, allowing you to integrate the project geometry in different formats into a single Excel workbook.
To display the geometry of your current selection, use the 'Visible Rows' button to reveal the geometry of elements in all rows currently selected in the sheet. Selections can be made based on one or multiple parameters, allowing you to quickly display the desired group filtered by the elements' parameters. This feature enhances your ability to focus on specific parts of your project by filtering and visualizing the geometry of selected elements according to their defining characteristics, streamlining the review and analysis process within your document.
The "Selected elements" button allows you to select to display geometry only those rows that are selected on the current sheet. You can select the desired elements in any parameter column, allowing you to navigate the entire project table while displaying the desired elements. You can select both whole rows and individual parameter values, allowing you to index the native ID of an element and display it
The 'Change Colors' button allows you to modify the colors of elements in the geometry display. To change an element's color, you need to specify the color in the 'GeomColor' column, where the cell's color is entered as a fill. Different colors can be chosen for different elements, and all these new colors will be displayed for the elements in the geometry viewing window.
"The 'Change Transparency' button enables you to adjust the transparency of elements. To modify an element's transparency, you must specify a transparency value from 0 to 1 in the 'GeomTransparency' column. Different transparency values can be selected for different elements, allowing you to either highlight or conceal them, while still displaying the necessary elements in the geometry viewing window.
The 'Add BoundingBox Data' button appends bounding box points and parameters to each element with geometry. This includes dimensions and coordinates of the minimum and maximum bounding box points, as well as its width, height, and other values. This feature enriches the dataset with crucial spatial information, facilitating a detailed analysis of the elements' physical presence and spatial relationships within the project.

"Check Duplicate" button allows you to identify elements with duplicate geometry, especially those duplicates that are visually difficult to distinguish. When you set the accuracy level of the check, all parameters of the BoundingBox elements are compared to detect duplicates, after which a final report is generated with a list of elements in which duplicates are detected. In addition, by changing the colour of the items in the Colour column, you can highlight the differing items in different colours and show them in the geometry visibility window.
The 'QTO table' button enables rapid creation of Quantity Takeoff volumetric tables for popular categories compiled within the project, featuring automatic summation of columns that represent volumetric values. This generated volume table allows for a quick overview of the project's quantitative metrics, instantly displaying the results of individual categories in the visualization window.
The "CO2 emissions" button allows you to quickly create a table of volumes by type in a project. The resulting table is supplemented with data on emission factors, where for each type a different type of material from the table with emissions is specified, which allows you to quickly create a complete table of emissions for the project, supplemented by automatically generated graphs.
The 'Check Parameters' button enables the verification of parameter completeness and their presence in the project. Select a grouping parameter from one of the main types or categories of the project. Then, on the parameter selection page for verification, fill in the necessary parameters to check for those categories or types for which you want to verify the existence and completeness of the parameter, and press the verification button again. You will receive the results of the verification on presence and completeness in the form of a table and a chart, providing a clear and organized overview of parameter status across the project."
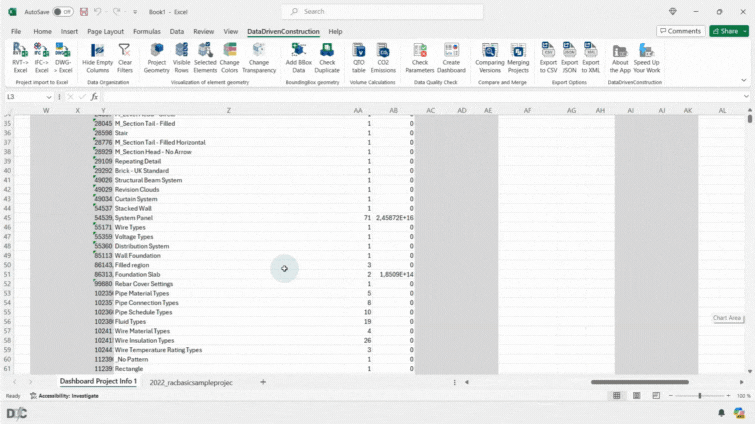
The 'Create Dashboard' button offers a quick way to visualize data with grouping by various project parameters, showing unique values of that parameter, the count of unique values, and their aggregated volumetric measure. On a new sheet, you can gain insights into the completeness and information across dozens of parameters simultaneously, providing a comprehensive overview of project data in a highly accessible and informative format
"The 'Comparing Versions' button enables the comparison of two versions of the same project. To do this, upload two versions of a project into one document and select in the window which versions you want to compare. In a new window, you will receive a comparison table where new elements are highlighted in green, values or elements that were removed are highlighted in red, and values that were changed in the new version are highlighted in yellow. This provides a clear and immediate visual representation of changes, updates, and deletions between project versions."
he 'Merging Projects' button allows for the consolidation of information from two projects into a single file. Simply select the projects in the document, and information from both projects will be displayed on one new sheet. Here, you can also visualize any groups of elements or individual elements, providing a unified view of multiple projects for comprehensive analysis and comparison.


Powerful Features for Efficient Data Management
📊 Seamless Data Import
Effortlessly import data from DWG, IFC, and Revit files directly into Excel, streamlining your workflow.
👥 Advanced Dataframe View
Organize and view construction data in a structured dataframe format for easy navigation and comprehension.
📈 Customizable Grouping & Filtering
Easily categorize and isolate relevant data with robust grouping and filtering options for in-depth analysis.
🔄 Dynamic Data Visualization
Create impactful reports using integrated visualization tools within Excel to transform data into actionable insights.
👩💼 User-Friendly Interface
Benefit from an intuitive interface designed for all skill levels, simplifying data management in construction.
📑 Table Management
Manage data tables efficiently without performance compromise, ideal for small and middle-sized construction projects.
🤝 Data Validation & Quality Checks
Ensure data accuracy with built-in validation tools, detecting and correcting inconsistencies effortlessly.
🔄 Versatile Data Export Options
Export your data to various formats, enhancing the flexibility and utility of your construction data management.
🌍 CO2 Emission Calculations
Utilize tools for CO2 emission calculations to aid in sustainable construction and environmental compliance.
HOW IT WORKS
1. Quick and Easy Installation
Start by downloading and installing Plugin. The setup process integrates seamlessly with Excel.
2. Effortless Data Import from Various Formats
Import your DWG, IFC, and Revit files into Excel. Just click 'Import Data' and select your files.
3. Intuitive Data Management Tools
Manage your data effectively with grouping, filtering, and sorting options for optimal analysis.
4. Advanced Visualization for Better Insights
Leverage Excel’s visualization tools to create dynamic charts and graphs for clear reporting.
5. Flexible Export and Sharing Options
Export your data to various formats or share it with team members after your analysis.
6. Continuous Support and Regular Updates
Stay up-to-date with regular updates and enjoy ongoing support. ConstructExcel is continually evolving based on user feedback.
Discover Ad-Free applications
Ad-Free DWG to Excel converter
$280.00Ad-Free DGN to Excel converter
$280.00


